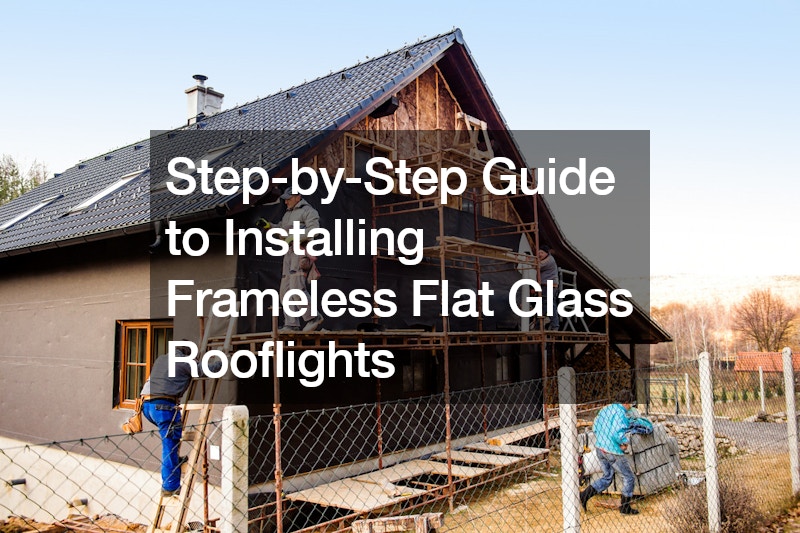
Installing frameless flat glass rooflights is a fantastic way to enhance the natural light in your home, adding a modern and sleek touch to any flat roof. This guide provides a detailed, step-by-step process to help you achieve a professional installation. Whether you’re a seasoned DIY enthusiast or a professional builder, following these steps will ensure your rooflight is installed correctly and efficiently.
Preparing the Roof and Frame The first step in installing frameless flat glass rooflights is to prepare the roof and construct the frame. Begin by ensuring the flat roof is structurally sound and ready for the installation. The framework for the window needs to be constructed accurately to accommodate the dimensions of the rooflight.
Construct the Framework: Measure and cut the timber to create a frame that is 10 millimeters larger than the rooflight on all sides. For example, if your rooflight is 1800mm long by 800mm wide, the internal measurements of your frame should be 1810mm by 810mm. This extra space allows for a comfortable fit and slight adjustments during installation.
Build the Upstand: The upstand, which raises the rooflight above the roof surface, should be constructed from 2×2 timbers. The height of the upstand should be around 300mm initially, which will be reduced to approximately 150mm after insulation and finishing. This height meets building regulations and ensures proper drainage.
Insulating and Preparing the Roof Next, you need to insulate the roof and prepare it for the rooflight installation. This step is crucial for maintaining the energy efficiency and weatherproofing of your home.
Install Insulation and OSB Board: Insulate the flat roof using suitable materials and cover it with an OSB (Oriented Strand Board). This provides a sturdy base for the rooflight and enhances the overall insulation of your home.
Apply Fiberglass: Cover the insulated roof and OSB board with a layer of fiberglass to create a waterproof seal. This step is essential for protecting your home from water ingress and ensuring the longevity of your rooflight installation.
Fitting the Rooflight Frame With the roof prepared, you can now focus on fitting the frame for the frameless flat glass rooflights.
Attach Furring Strips: Install furring strips on top of the upstand to create a slight fall of around six degrees. This slope prevents water from pooling on the glass, which is crucial for maintaining the clarity and structural integrity of the rooflight.
Install Supporting Batten: Attach a 2×1 batten around the inside perimeter of the upstand. Ensure it is 42mm below the top of the upstand. This batten will support the rooflight and provide a base for the next steps.
Installing the Rooflight Now comes the critical part: installing the frameless flat glass rooflight itself.
Apply Foam Rope: Place foam rope on top of the supporting batten. This material levels out any discrepancies and prevents pressure on the bottom pane of glass, which is vital for avoiding cracks and maintaining the warranty.
Apply Weatherproof Sealant: Apply a weatherproof sealant around the perimeter of the upstand. This step is crucial for creating a watertight seal and preventing any moisture from entering the roof structure.
Lower the Rooflight into Position: Carefully lower the frameless flat glass rooflight into the prepared frame. Ensure it fits snugly within the 10mm tolerance space. Take your time to adjust and position the rooflight correctly.
Seal the Perimeter: Finally, run a bead of weatherproof sealant around the outside perimeter of the upstand, just below the overhang of the top pane of glass. This final seal ensures complete protection from the elements and secures the rooflight in place.
Finishing Touches and Inspection After installing the frameless flat glass rooflight, it’s essential to inspect your work and make any necessary adjustments.
Inspect the Installation: Check all seals and ensure the rooflight is firmly in place. Look for any gaps or areas that might need additional sealant or adjustment.
Clean the Glass: Clean the glass thoroughly to remove any construction debris or fingerprints. This ensures the rooflight looks pristine and allows maximum light to enter your home.
Final Adjustments: Make any final adjustments to the internal and external finishes around the rooflight. This might include additional sealing, insulation, or cosmetic touches to ensure a professional and seamless appearance.
Conclusion Installing frameless flat glass rooflights can transform your living space by flooding it with natural light and adding a touch of modern elegance. By following these detailed steps, you can achieve a high-quality installation that enhances both the functionality and aesthetic appeal of your home. Whether you’re looking to brighten a dark room or add a stunning architectural feature, frameless flat glass rooflights are an excellent choice.
.